
My wife and I have always loved decorating our house for holidays, in 2021 we decided to go all-out and build a musical show. Since we’ve done that we’ve had a lot of questions ranging from people wanting to do a simplified version to their own musical show. There’s a ton of resources online that I’ll link at the end, but this is the basics of what’s needed and my setup. I think the biggest first step is understanding the end-to-end of how everything fits together, so that’s where I’m going to start.
There are four key things to understand to do a full-on musical show:
- Individually Addressable LEDs (Pixels)
- Props
- Programming
- Electronics
LEDs / Pixels
The first thing to understand is the most obvious and the most important. The whole “lights” thing. Normal Christmas lights are just white bulbs with colored plastic casing to make them colorful. For a light show, you use what are call RGB “individually addressable” LEDs, sometimes called “pixels”. These LEDs have small red, green, and blue LEDs (the RGB part of the name) in them and can make essentially any color. The “individually addressable” part means that each LED in a strand of lights, each light can be its own individual color. You’ve probably seen lights like this at some point, mostly to do cool rainbow effects like this:
A fancy lightshow is really the same concept, but with hundreds or thousands of these lights in a more coordinated manner. There’s really two key parts to that coordination, props and programming.
Props
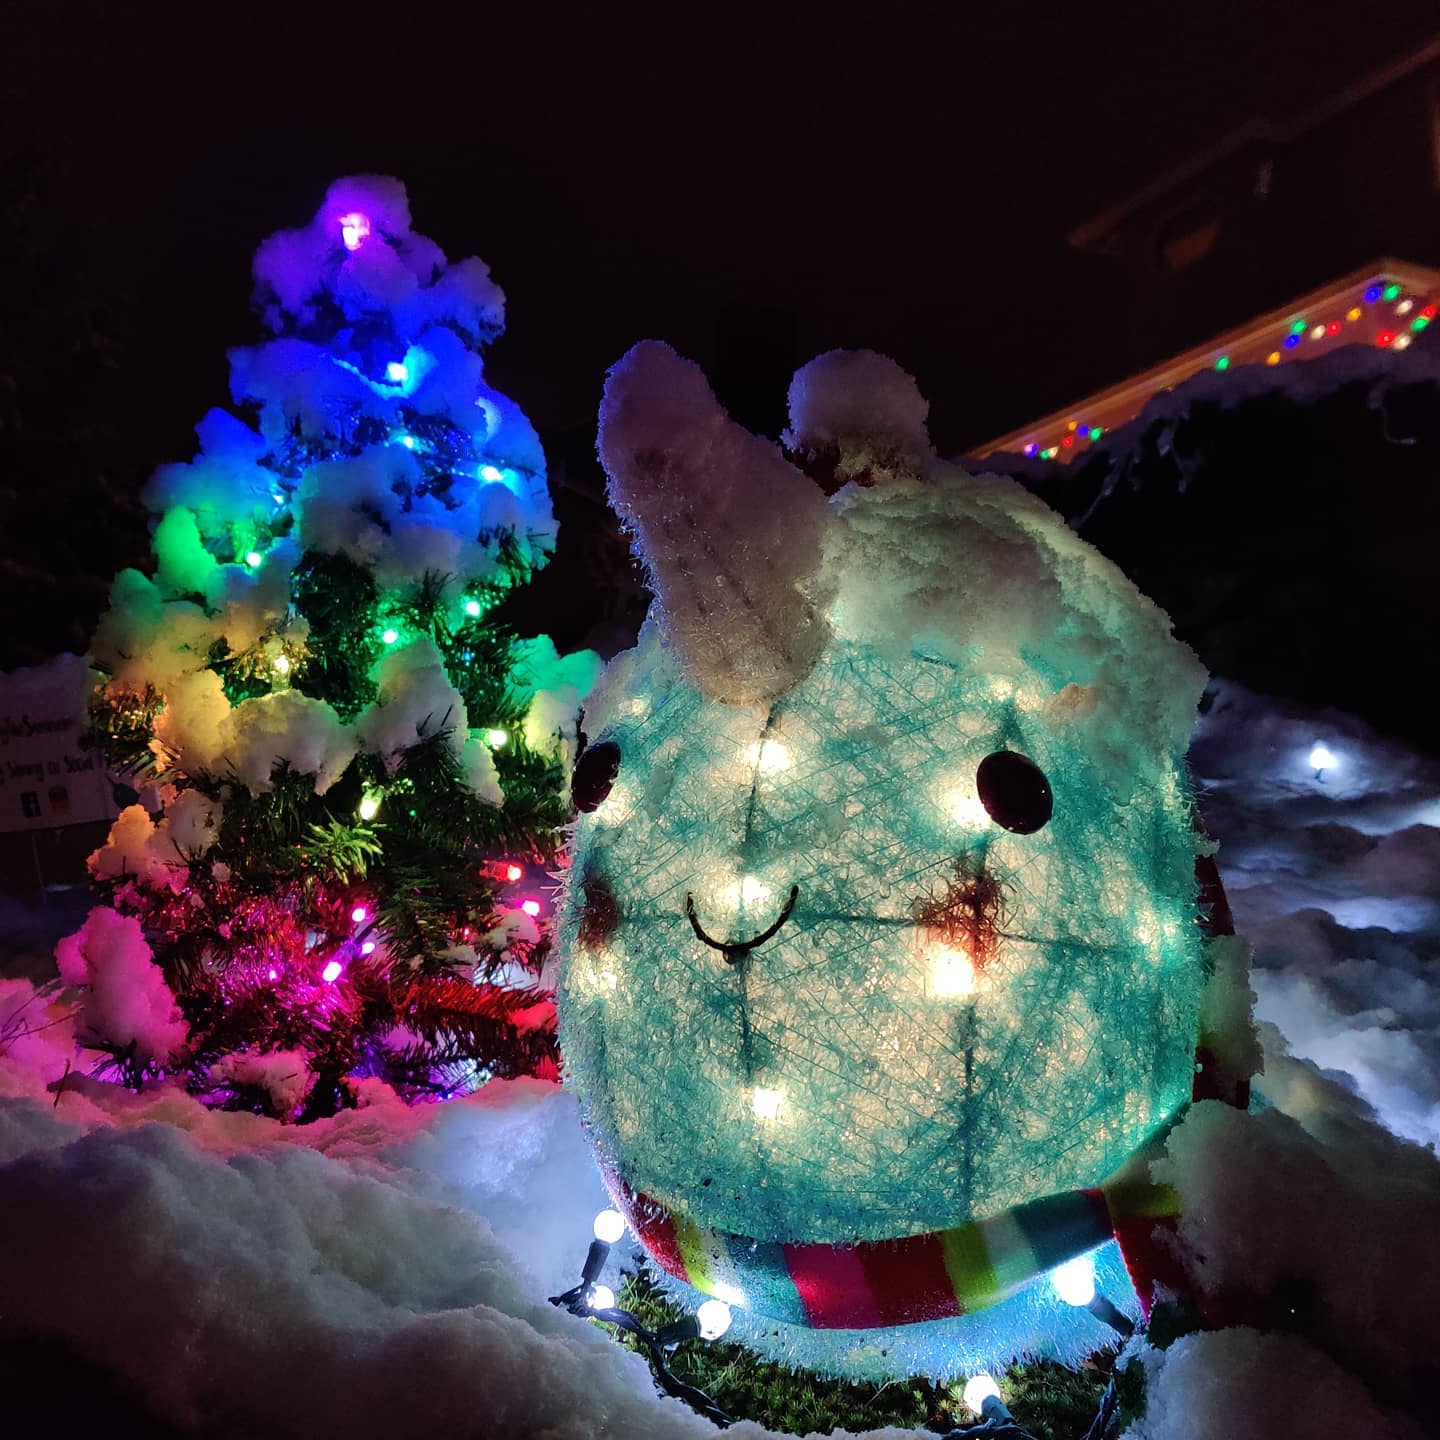
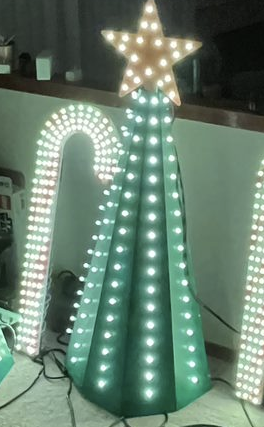
Props here is a very generic term. For a basic flashy lights with pixels instead of normal C9 bulbs, you can probably throw some pixels up just like you would put up normal lights, set them to a cool rainbow and be happy. For a full-on music and animated show, you need to be more precise with the spacing and layout of your pixels (more on that later). To get the lights into the shape of a tree, candy cane, star, snowflake, etc. there's a few options, but we mostly use "Coroplast" plastic sheets with holes drilled in them (generally called "coro"). You can buy sheets of this at a local hardware store and drill it yourself or buy them predrilled. Here's a few examples of coro props in our show.
All of these get wired in order, so if we used the exact same rainbow from before in our tree (something this small would be called a “minitree”) we’d see something like this, weaving up the tree:
Which is nice, but we want to be able to make rainbow effects relative to this tree shape, not a line. We could try to order our lights to do that naturally, but sometimes we want an effect to move up/down or spiral, or random so we can’t rely on that for everything. That’s where programming comes into play!
Programming
Once you have your props and with lights in them, programming is the fun, kinda tedious, and sometimes hard part that really pulls a show together. I’m going to just scratch the surface. Let’s say we want to have a strand of straight lights along your roof like “normal” lights, and our little tree right below it and we want a rainbow sweeping from left to right in sync. Something like this:
To make this happen we have to tell the controller two things:
- Where the tree is relative to the roof lights. This is your layout.
- That you want a rainbow, how and when you want it to move. This is your sequence.
Programming is done on a computer, I use xLights for all my programming, it’s an awesome open-source application that handles everything relatively easily. It has some rough edges that you’ll need to learn over time, but there’s a great community on Facebook and YouTube with videos and tutorials for the nitty-gritty.
xLights has a pretty simple system for layout, the UI looks like this:
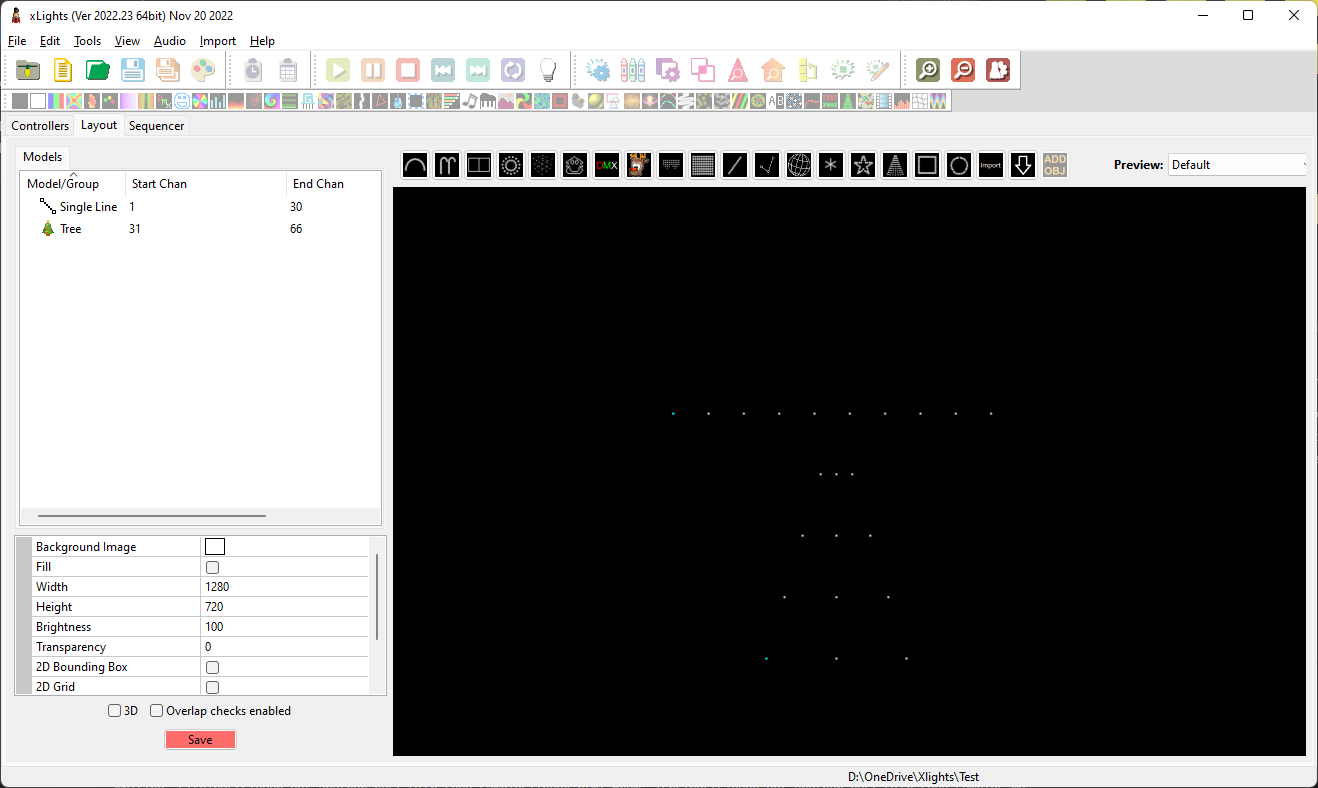
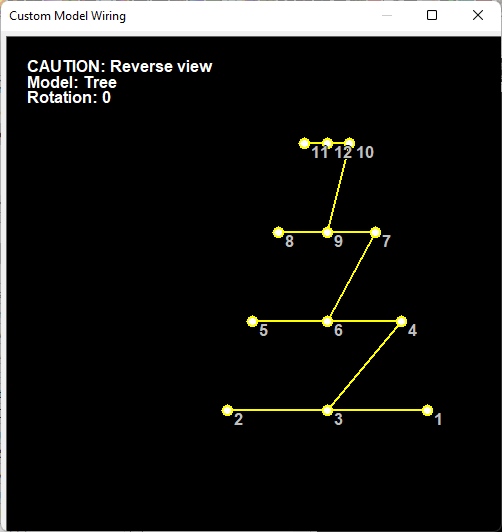
Ignoring the two bars along the top the main UI is pretty simple. The big black box contains all the models in your layout, you can click one of the options on the toolbar to add to it. The list on the left contains all the models in your layout, and if you select one, the area below will contain all the configurable options for that model. You can see in the picture that I've placed a straight line for my roof and a tree for my tree (please ignore the slightly different dimensions). The magic of all of this happens when I right-click my tree and hit "wiring view" that shows me this window. If the LEDs in my prop are wired exactly like this diagram then xLights now knows where every LED in my tree is relative to the roofline!
To finish off our rainbow I just need to make what we call a “sequence”. It’s a lot like audio or video editing. xLights’ sequence view has your layout on the left side, some effect details in the middle, and a timeline on the right. To get a basic sequence it’s as easy as dragging an effect from the top toolbar onto the timeline and messing with the effect details in the middle. You can see our rainbow (on my house, because the demo is boring) below:
If you’re doing musical sequencing the music will also play to help you get timing right. It can take a lot of time to tweak the little settings in sequences and get them just right, but it’s a lot of fun and the results are worth it. Sequences are shareable, so you can download other people’s sequences and tweak them to your liking, or share your own with the community. There’s a few places for free sequences, and a few vendors that sell really high quality ones.
Electronics
I’m going to gloss over this for this post. The main electronics for a light show are a computer, controller, and power supply. The controller is what takes the data from the computer (can be a small Raspberry Pi or full computer) and sends it to the lights. The power supply is what powers the lights and controller. There are a lot of different options for all of these, I’ll cover what I use in a future post. The electronics aren’t extremely simple, but when you find a controller they have pretty good directions and/or a helfpful community.